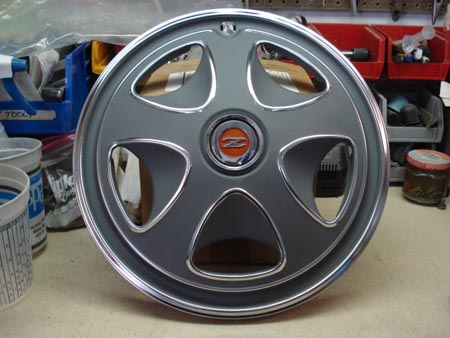
S30 Hub Cap Restoration
I lost a "Z" hub cap when I took my Z out for a drive recently. So I decided to refinish a few caps, one replacement and a couple of spares. After digging through my stash, I found a few suitable donors. The topic of hubcap refinishing has been addressed before, but I thought I'd document the steps I took to bring these hub caps back to life.
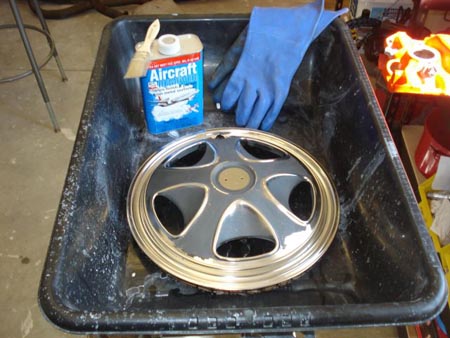
Items Needed
- Paint stripper
- Automotive Masking Tape
- Dish pan
- Dish Soap
- rubber gloves
- scouring pad
- Paint Brush
- PPG wax & grease remover or simular
- hammer & dolly
- X-acto knife
- pick
- Paint
Process
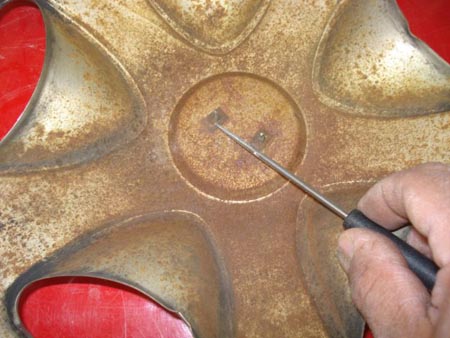
I began by removing the center ornaments. I used a pick to bend up the tabs on the retainer clips. The clips could then be pulled off.
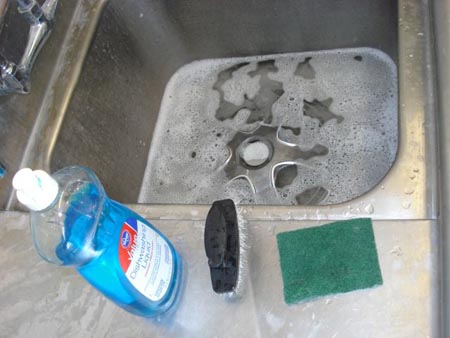
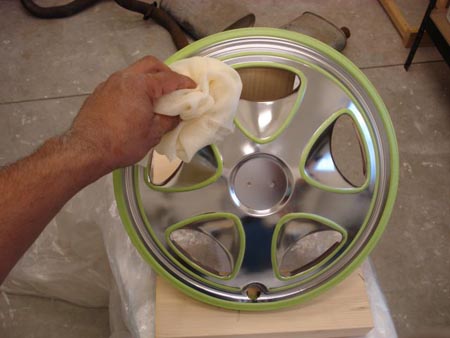
Next, the hub caps got a bath in hot, soapy water. After drying them off, I wiped them down with a wax & grease remover to make sure all dirt, grease & grime was completely removed. I keep a little PPG wax & grease remover in a spray bottle. Eastwood's Pre Painting Prep (or similar) would do, as well
Once clean, it was easy to spot the dents & dings. A little hammer & dolly work straightened things out.
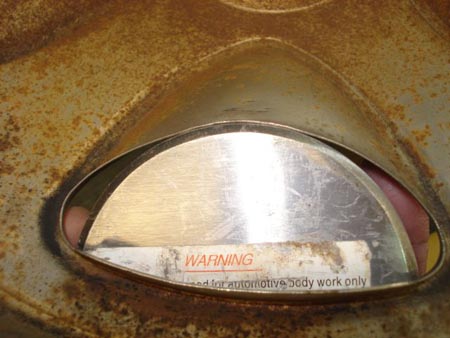
Next, I used paint stripper to remove the old paint, which is pretty thin. I put the hub cap in a large plastic tub that I got at Ace Hardware to prevent from making a mess. I poured a little stripper into a clean vegetable can and used a chip brush with natural bristles to apply it. Be sure to wear rubber gloves to prevent getting any on your hands.
The old paint started to wrinkle within a few seconds of applying the paint stripper.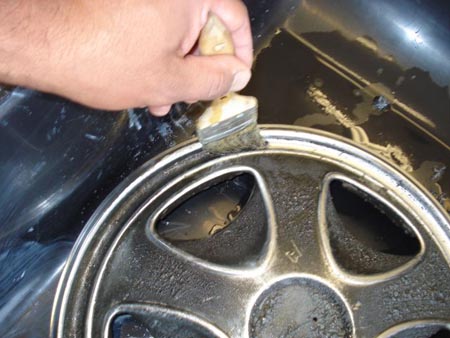
I rinsed the caps off and used a green scouring pad to remove all of the old paint. Repeat as needed to remove all of the old paint.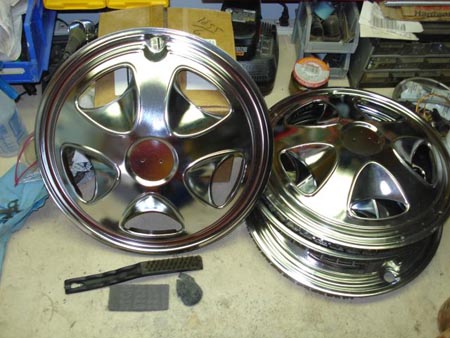
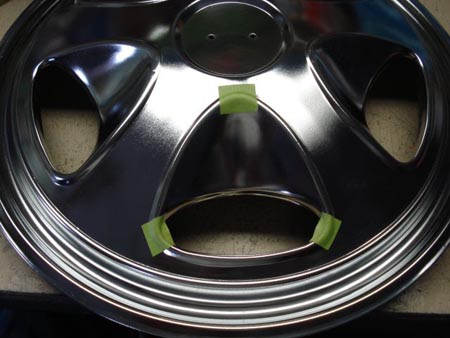
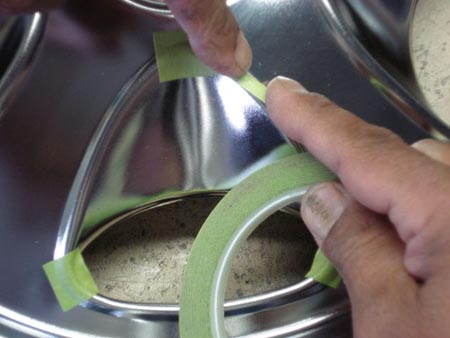
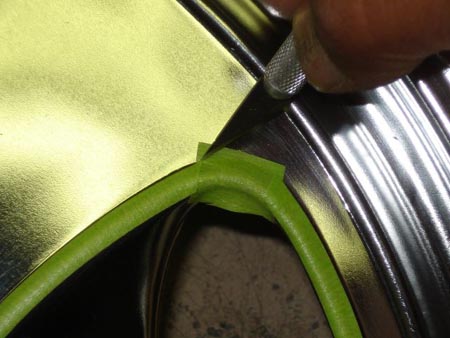
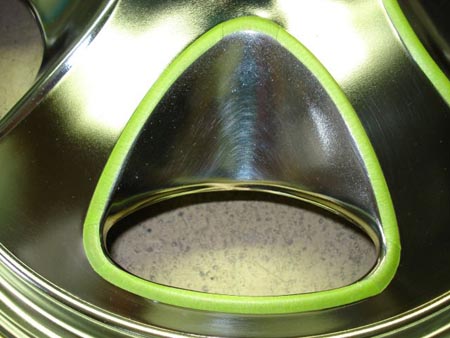
Now it's time to mask off the areas that won't be painted. I used Scotch green tape. The 1/4" tape is perfect for outlining the scallops and the outer edges of the hub cap. I found it easier to stick a small section of the 3/4" tape in the "corners" of the scallops and trim to size with an X-acto knife. The 1/4" tape bunches up on the inside of the bend in the tight corners
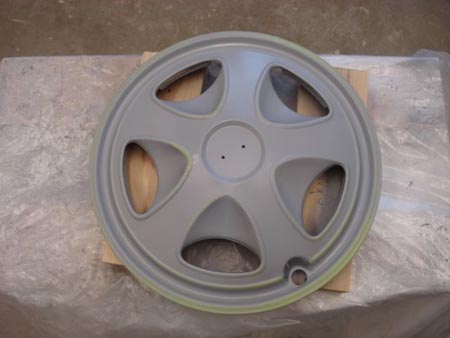
After masking the hub cap, I wiped it with a tack rag to remove any dust. Then I applied 2-3 light coats of SEM etch primer. I let the primer dry overnight, although it says on the can that it can be top coated after 1 hour.
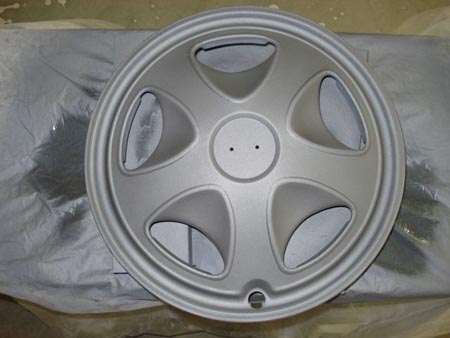
When I repainted the grille, rear finisher & hubcaps on my '73 I had a local paint shop mix up a pint of paint using the "recipe" outlined in Wick Humble's book. It is a silver/grey metallic with flattener. Fortunately, I had some left. I used a Sharpe Cobalt gravity feed gun to spray the top coat. I applied 3 light coats, waiting 5-10 minutes between each coat
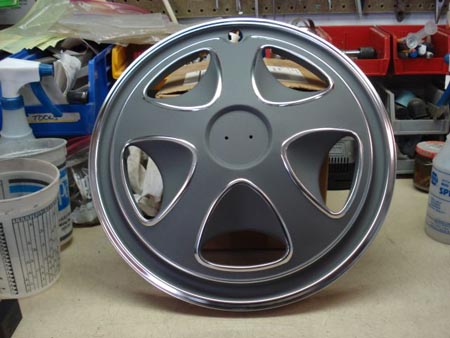
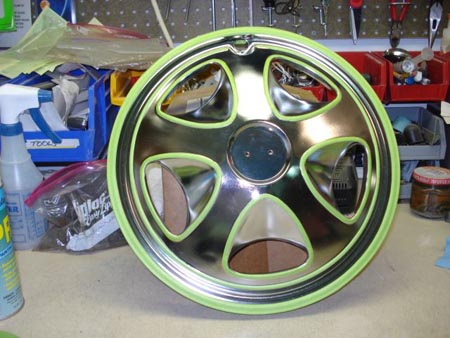
Once the paint was dry I removed all of the masking tape. The cap is starting to look nice! I polished up the center ornament with a couple of Meguiar's products (see http://www.classiczcars.com/forums/s...ghlight=hubcap). With a polished center ornament attached this hubcap is ready to put on the car. Might not be 100% show car quality, but darn nice for a Z that is driven! Now I've got a couple of spares in case I lose one again!