Z31 Tail Lamp Conversion
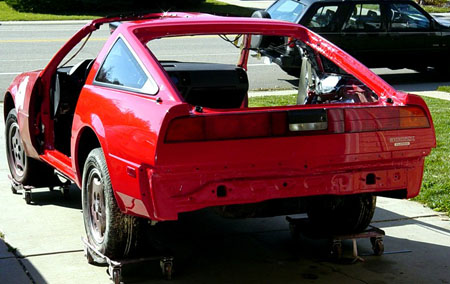
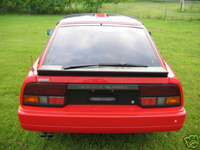
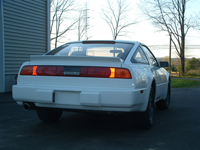
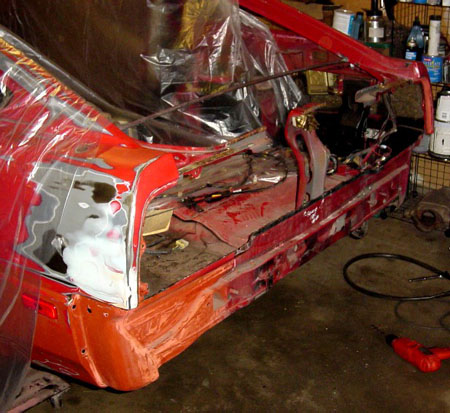
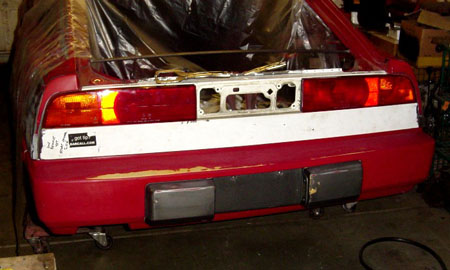
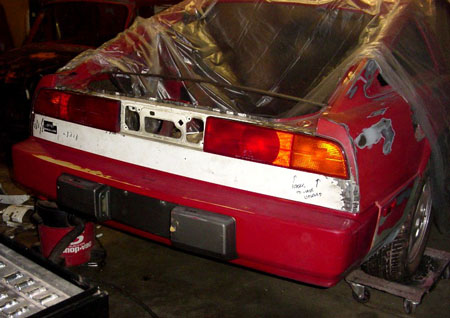
With the rounded '87 style front-end and cleaned appearance of the chassis without the clunky side molding, the '84-'86 style rear was beginning to look very dated and unappealing, so why not change it. Many ideas were considered, but I finally decided that the most appropriate (for a 200zr-II looking replica) would be to update the rear to the more modern looking '87 style. Looking at the two cars, side by side, the little "pains" of this project become quite evident.
If you are considering installing the '87 panel onto your pre '87 ZX, you will need to acquire the rear panel. You have two options, you can order the panel new, from Nissan (part number 79110-21P50), for $244.63 plus shipping, or you can have a local salvage yard make the cut from an existing '87-'89 chassis and use that (~$50 to $100).
For my conversion, Cuda from Z31.com sent me a rear-cut panel from his '87 parts car at considerable savings; he did an excellent job of cutting out the old panel to the exacting location provided. The following approach will be based on using a rear-panel cut.
The Process
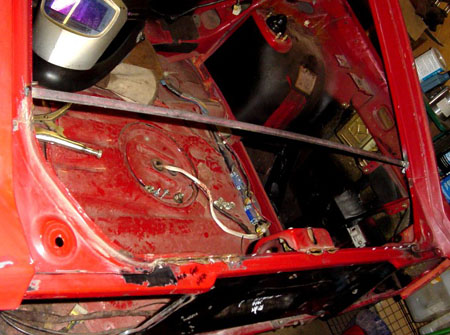
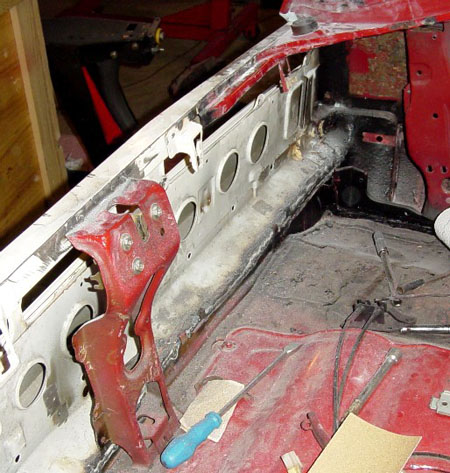
You will want to start the conversion by welding in a stabilizer bar in the rear hatch area, just behind the quarter windows. This is to provide stability for the area and prevent the chassis from "springing" outward once the original rear panel is removed.

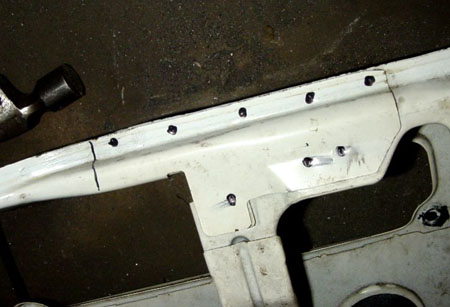
The rear panel is held in place with a series of spot welds. Begin by drilling out the welds on the upper edge (what the hatch closes onto). The '84 latch and structure will be used, so drill the welds out on it as well. Use a 3/8" cobalt bit and be careful to only drill through the first layer.
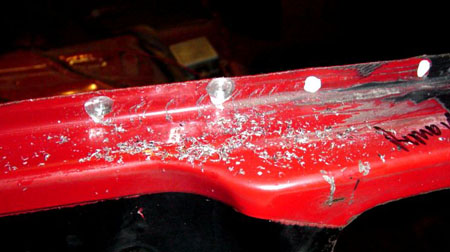
Once the spot welds are drilled out, separate the panels using a screwdriver. Don't worry about damaging the panel that you are removing.
Continue, in like manner, with the spot welds on the outer edges,

And license plate panel.
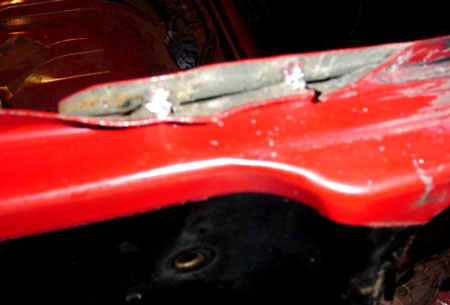
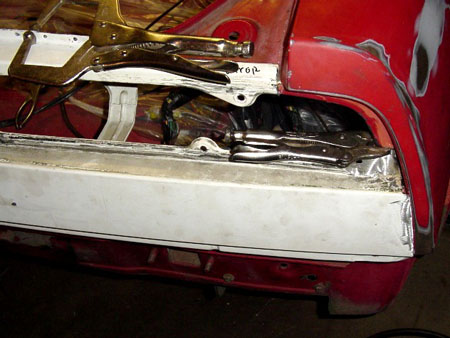
For the lower edge, cut the panel approximately 2" above the factory seam.

At the quarter panels, cut the panel about an inch from the edge, being careful to leave all of the quarter-panel to tail-lamp mounts. Remove the panel from the vehicle.
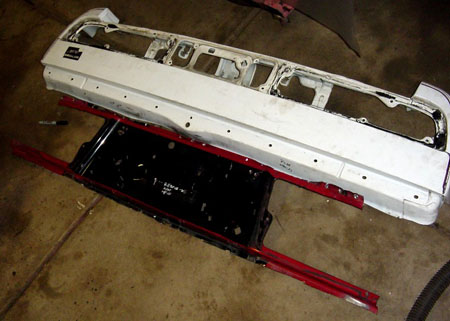
Here is a comparison of the original (removed) panel and the '87 panel.
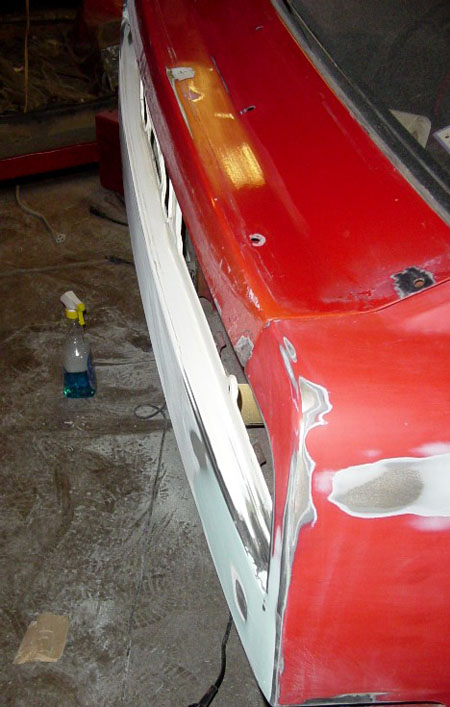
In order for the '87 panel to be installed, the quarter panel areas must be trimmed to fit the '84 section. The amount of material removed will be dependant on how you cut out the original panel. Be conservative here and carefully fit the '87 panel to the opening. Here are shots of what I trimmed:
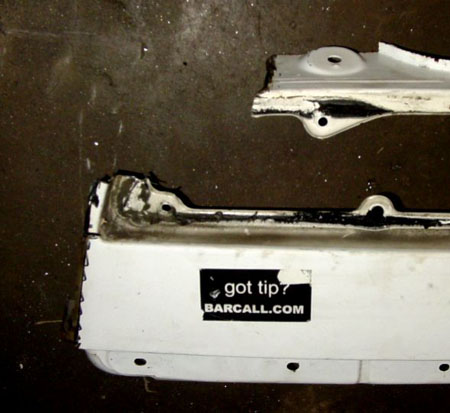
Driver Side
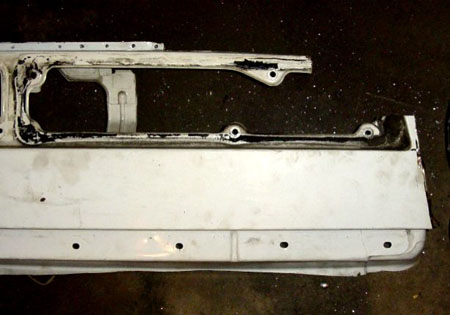
Passenger Side
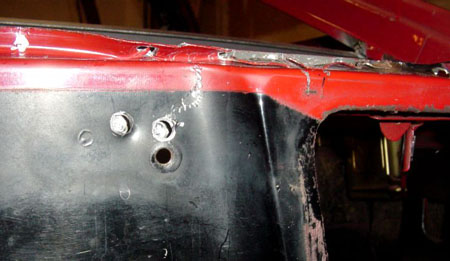
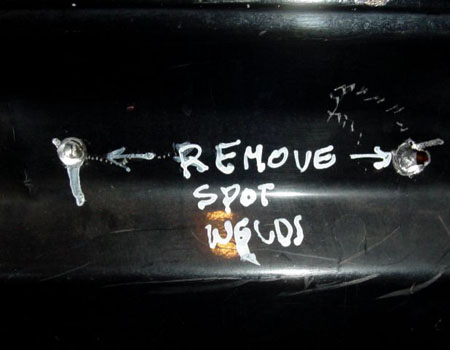
Additionally, the inside support structures and latch must be removed. These are spot-welded in place. Drill out the existing spot welds as with the original panel.
Once the panel is prepped, fit it to the opening, being careful to remove small amounts of material at a time, until the panel fits.


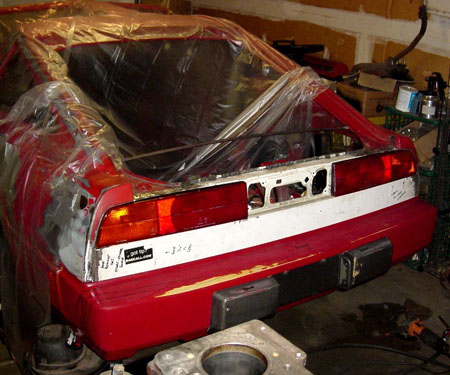
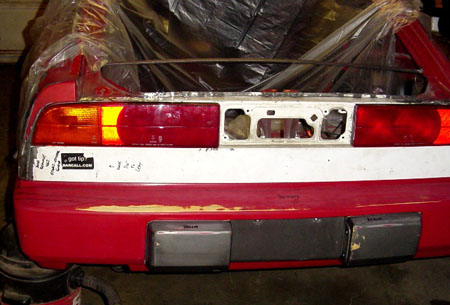
Before welding the panel into place, be sure to test fit the taillamps to ensure that the panel is evenly spaced.
Once satisfied with the fitment, weld the panel into place. Plug weld the panel to the upper reinforcement and latch (using the drilled spot-weld holes as holes for the plug welds). Additionally, run a continuous weld between the panel and the quarter panels and also run a continuous weld along the bottom of the panel. The bottom, inside of the '84 may be bent to fit properly with the bottom of the '87 panel.
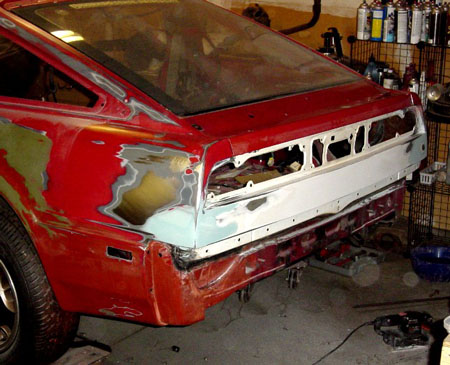
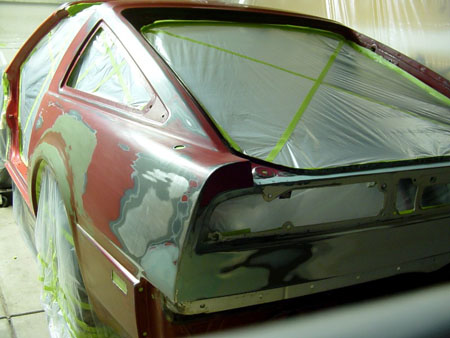
Grind all welds smooth and contour the area with a high-quality filler. Notice the continuous stich weld along the bottom of the panel.

Note: Filler is used in the quarter panel here to repair accident damage and is not related to the tail conversion.
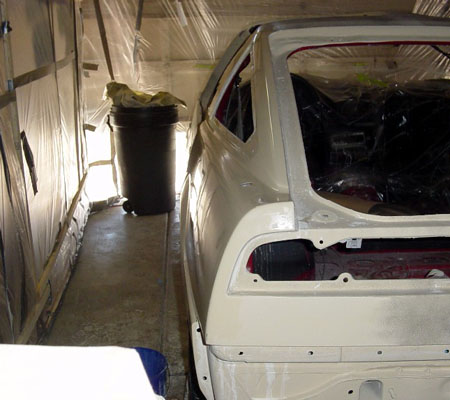
Finally, prime and paint the rear section. Apply 3M's Brushable Seam Sealer to all welds, inside and out, prior to priming. Additionally, make sure that all interior seams are liberally coated with sealer to prevent moisture entering the body.
Mask the body appropriately to prevent any paint from entering the interior.
Prime the area using a high-build surfacer and sand to 600 grit (or as instructed by the primer manufacturer).
Finish with appropriate paint, install lights, hatch seal and closers. If desired, install the appropriate '87 rear emblem (I chose the graphite colored "300zx Turbo" (part number 99099-21P11) emblem and placed it appropriately).