
XenonZcar.com - Z31 Digital Dash and Climate Control Lighting Color Change
One of the many changes I had plan on making to my 300zx is changing the interior light. The interior lighting color is controlled by "gel cap" bulb covers placed over the bulbs. On my '84, they're green. Since I have the digital package, I have to consider the color of the digital display when looking at back lighting. To begin, I will look at the climate control display.
Climate Control Back Light Color Change
To change the lighting color, you need to change the color of the bulb. Typically, this would be done using "gel cap" type bulb covers. Unfortunately, I was unable to find any that would fit the stock climate control bulbs. To remedy this, I purchased some DupliColor MetalCast anodized appearance type paint at my local Wal-mart. I came home with red, blue and green. They also had purple, though I left that on the shelf.
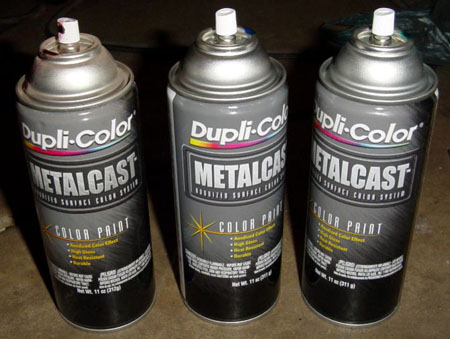
I masked off the base of the bulb and painted the top part with the MetalCast paint. This type of paint is important as it is semi-transparent and heat resistant; I don't know if ordinary spray-paint would work as well.
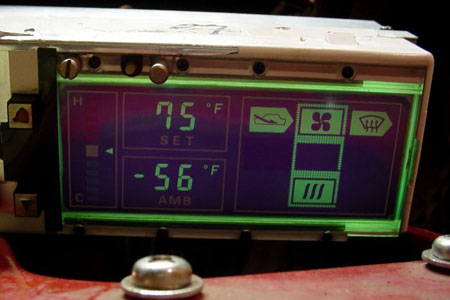
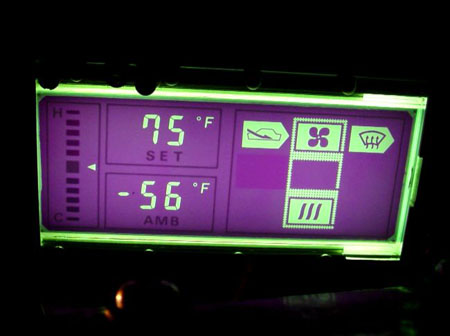
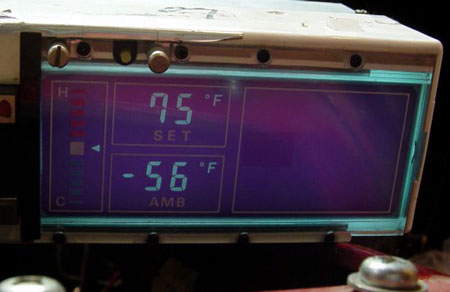
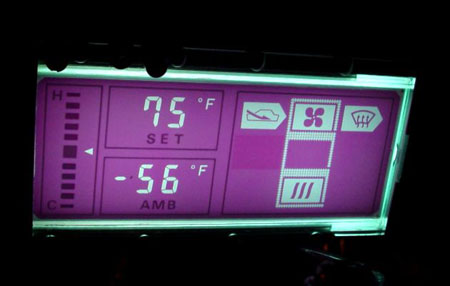
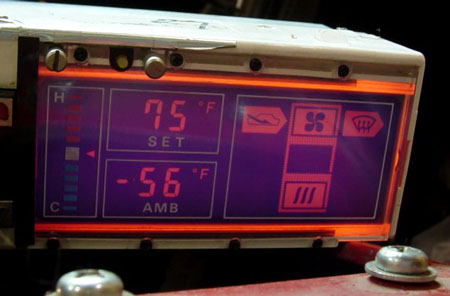
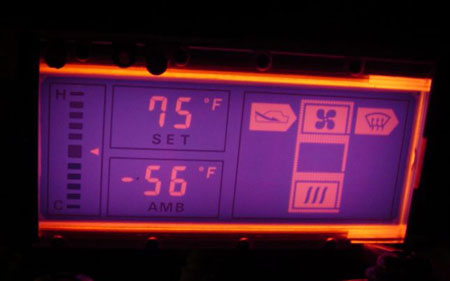
Once dry, I installed the bulbs and tested the coloring. Here are pictures the three I used, taken both in the light and in the dark (for comparison of color and brightness).
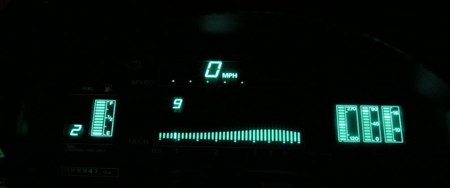
Changing your Digital Dash Gauge Color
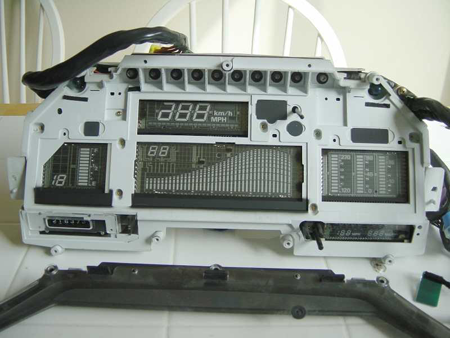
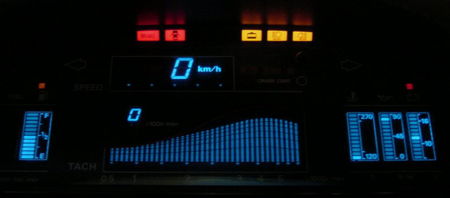
Standard Green Dash Display:
Items Needed
- Parcan gels, used in stage lighting
- Phillips Screw Driver
- 10mm socket
- Ratchet
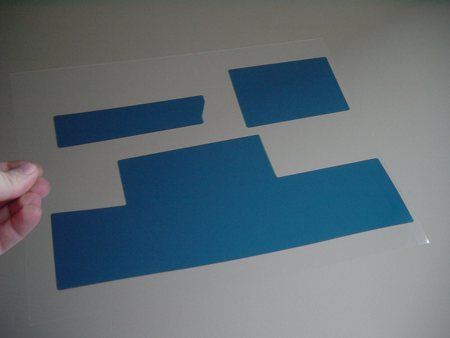
Template
Process
First remove the combo switches on each side of the gauge cluster. Now there are 4 screws that hold the digital cluster in place. Remove these and remove the cluster.
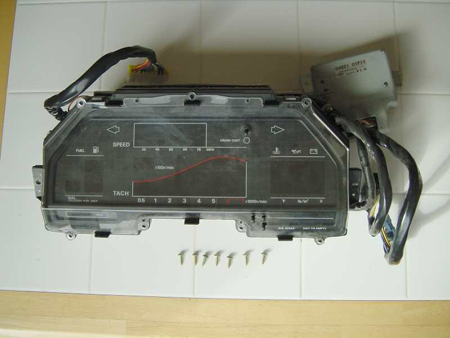
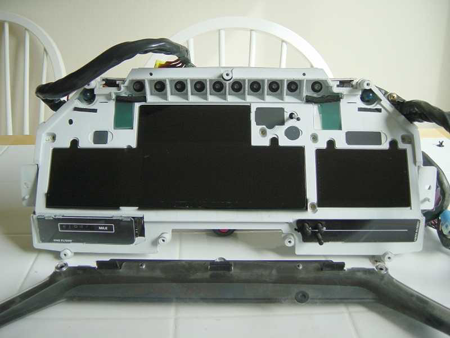
Cluster Disassembly
To disassemble the digital cluster remove the eight (8) screws from the trim. Next remove the outer plexi shield.
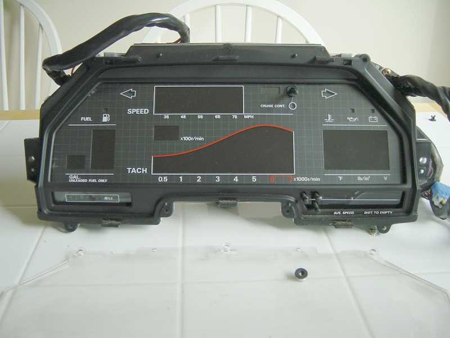
Now Remove the outer trim ring from the cluster.
Now Remove the inner plexi. This is what has all the Lettering on it.
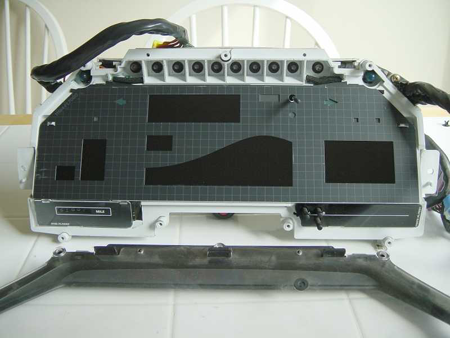
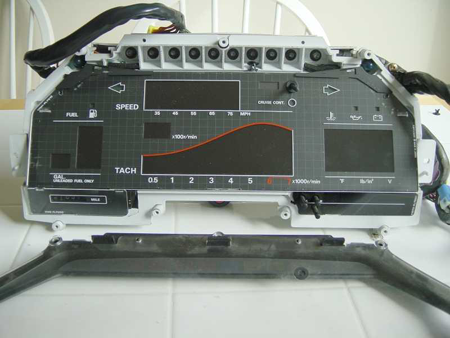
Now Remove the metal shield from the cluster. This is the part with the grid on it.
You will see the green filters. Pull these out as you will be replacing these with your colored parcan gel
Here is a Close up of LCD(LCD = liquid crystal display, way different from LED. LED =light emitting diode)
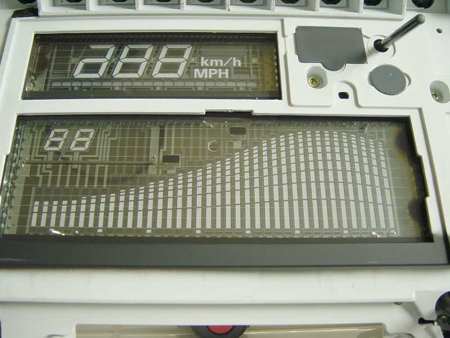
Close up of the green filters

Here is a image of the layout printed on overhead projector transparency. Its a better idea to use parcan gels, used in stage lighting. They are heat resistant and do not fade much over time. The filter I printed on an inkjet printer has faded and the blue is not as dark anymore.
For the Center pod Gauges the process is similar but you will need to take the Circuit board off the gauges to replace the color sheet.
The stock radio has green filters in the buttons and condoms for the LCD display (if I remember correctly).
Sources used on this page:
- Digital Climate Control Written by: Redare
- Digital gauge Cluster Written by: Z_Karma