


Z31 Under Hood Cleanup. Getting rid of that nasty crap
In the early years, Nissan (or perhaps the dealerships) sprayed the under hood compartments of the Z31's with a waxy (almost like contact cement) goo (Cosmoline)that was designed to protect the engine components and other items from corrosion during transportation by boat. Well, after 22 years, that sticky stuff has collected all kinds of dirt and looks absolutely terrible. Because of its waxy nature, it's hard to clean up.
*WARNING* - Do this modification at your own risk. We Are not responsable for any issues of your own doing.
Items Needed
- Cotton terry cloth shop towels
- WD-40 in a spray Bottle
- Simple Green® multipurpose cleaner

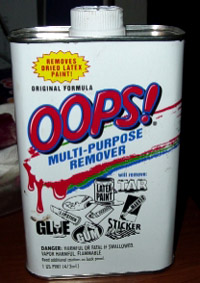
- Oops® multipurpose cleaner (In a white can; you can find it at your local Wal-Mart)
Process
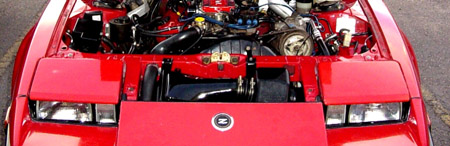
The under hood of my 300ZX looked absolutely horrible. The original batch of owners didn't believe in flushing the cooling system; the system was full of rust and had developed a leak. Rust was sprayed all over the engine bay. Also, Nissan sprayed the under hood with a waxy film to protect the components. That had collected lots of dirt over the years and looked absolutely terrible. On top of that, valve cover leaks, morons pouring oil all over the passengers side, etc., had all contributed.
The first thing I did was to remove the under hood insulation. That stuff was in bad shape and there was no feasible way to clean it up. You can order a new piece, Part # 65840-01P02 for 1984-1986 Non-turbo and 1986 Turbo or Part # 65840-02P02 for 1984-1985 Turbo models or Part # 65840-21P00 for 1987-1989 models from Nissan Parts Deal, or manufacture one out of reflective film; either way, for cleaning purposes remove it.
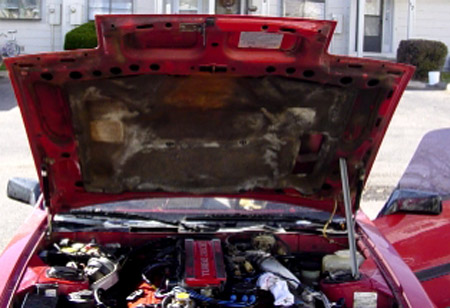
To remove the under hood insulation:
- Using a pair of needle nose pliers, remove the plugs holding the insulation to the hood.
- Remove the washer fluid tubing (this will most likely be hard, yellowed and brittle and will come out in pieces, don't worry)
- Remove insulation.
Now, time to clean things up
Let's start with the front of the car (where the air-box is):
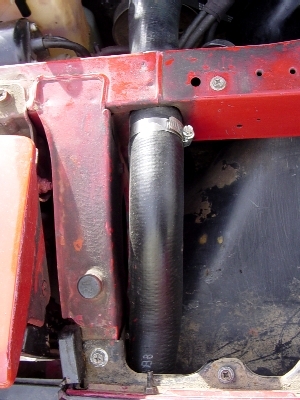
- Remove the air-box assembly, upper heater hose, hood bumpers, and headlight seals
- Pour a small amount of Oops onto the terry-cloth towel and begin to rub at the wax. It should come off fairly easily. Be careful not to move to slowly as if you leave it on the paint it can start to damage it. You can use WD-40 as well but it may take longer but is much more gentle on the painted surface.
- Don't allow the Oops to dry on the paint.
- Immediately after the area is clean, spray it with Simple green and wipe it dry with another terry-cloth towel.
- Continue cleaning until the entire area is free from gunk.
- Wipe the entire area with Simple green and dry.
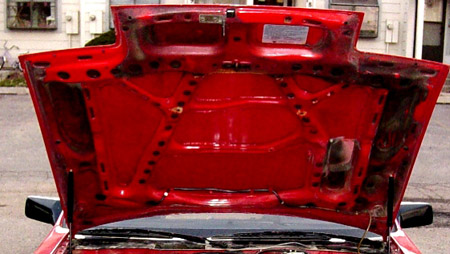
- Apply a coat of carnauba wax to the paint.
- Presto, keep it up; you've got the entire engine bay to do!
Tips from Experience (43 Hours!):
- Remove everything that you can; the easier it is to access the dirty surface, the better job you will do.
- Don't use this stuff on plastic; it WILL damage the surface.
- Start with the front of the engine bay and work toward the back. The firewall is a pain to get to, but "that extra effort makes it look that much better."
- If you have any areas of severe paint damage (i.e. leaky brake master cylinder (like me), repaint it while everything is removed)
- If you are going to repaint any of your under hood components, do the general cleanup first. It will save you some preparation time in the future.
- Remove the hood and lay it flat on a blanket; it will save you tons of back aches in the long run.
Sources Used
- 1984-1988 Nissan 300ZX Factory Service Manual
- Write up by: Redare