


Z31 Rear Cross Member Bushing Replacement Clunk from Rear
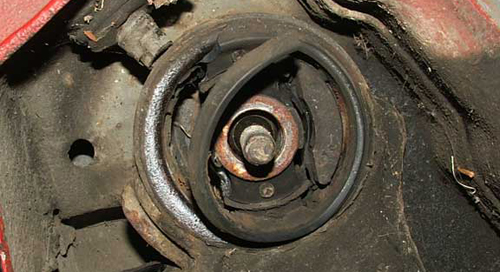
A common problem found on the Z31 is a Clunk from the rear end of the car when shifting gears or accelerating/decelerating. This is usually caused by worn sub frame bushings and/or differential mount.
*WARNING* - Do this modification at your own risk. We Are not responsable for any issues of your own doing.
Parts Needed
You can choose to replace the parts with stock rubber or upgrade to the polyurethane replacements. Note: The polyurethane replacements are less expensive and will last longer.
Stock Rubber Parts
- 1984-1986 Nissan Part # 55476-01P10 - Insulator, Differential Mounting (No Longer Available)
- 1987-1989 Nissan Part # 55476-01P20 - Insulator, Differential Mounting (No Longer Available)
- (x2) Nissan Part # 55466-01P10 - Insulator, Member Mounting
Polyurethane Parts
- Prothane Polyurethane Rear Cross Member Bushings Part Number:14101 – $65.54 from Prothane Suspension Parts
- Differential Mount Bushing Z31 300ZX – $195.00 – $215.00 from Apex Engineered
Tools Needed
- Floor Jack
- Jack Stands
- Breaker Bar
- Various Metric Sockets
- Ratchet
- Hacksaw
- Press
- Paint Pen
Procedure
- Jack the car up and secure on jack stands.
- Pull the wheels off the rear.
- Place a floor jack under the differential housing to support it.
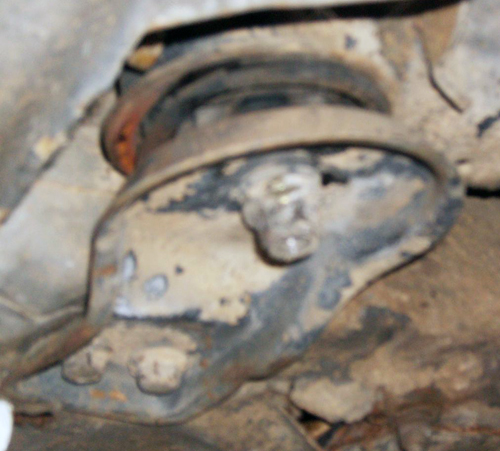
- Remove the two nuts securing the differential mount to the rear housing.
- Remove the two bolts and two nuts holding the differential mount to the body. The mount should now be free.
- Replace the old mount with the new one and tighten:
- Mount-to-body bolts: 22–29 ft-lbs
- Mount-to-body nuts: 43–58 ft-lbs
- Mount-to-differential carrier nuts: 43–58 ft-lbs
- Remove the rear cross member by disconnecting the rear control arms. This is the hardest part.
- Remove the rear sway bar (4 bolts). If bushings are worn, replace them now.
- Disconnect the emergency brake cables from the calipers and main cable.
- Remove the rear control arms from the cross member:
- Each side has one regular bolt/nut and one eccentric bolt/nut.
- Mark the eccentric bolt position with a paint pen before removal for alignment.
- Torque spec: 72–87 ft-lbs
- Support the differential and remove the 4 bolts/nuts holding it to the cross member.
- Remove the 2 nuts holding the cross member to the body (torque spec: 58–80 ft-lbs).
- Remove the 4 nuts holding the cross member stays. The cross member can now be removed.
-
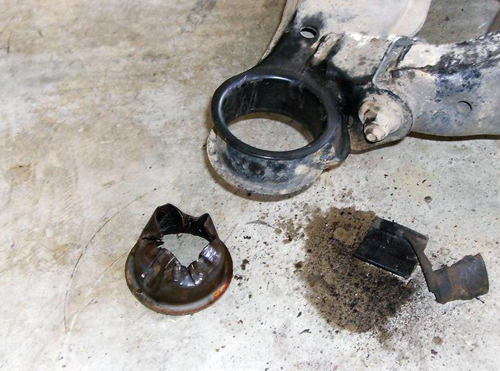
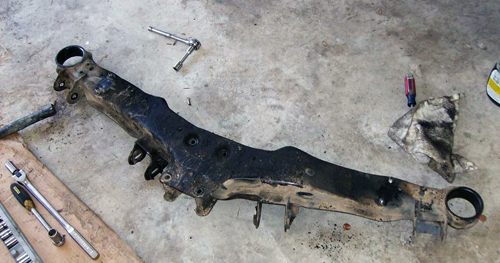
- Press out old bushings and install new ones.
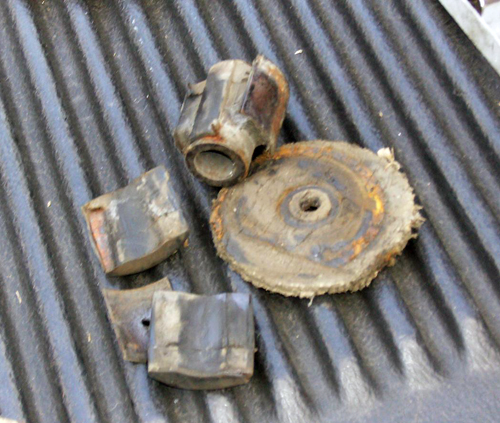
This is what they usually look like when removed.
- Use a cold chisel to punch out the metal sleeve of the bushing.
- Clean everything thoroughly.
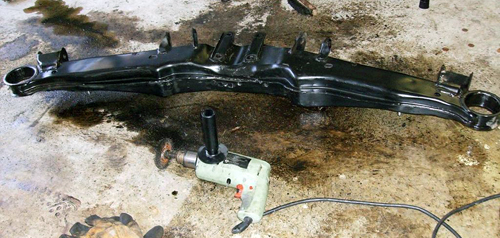
- Assembly is reverse of disassembly.
Sources Used
- 1984-1988 Nissan 300ZX Factory Service Manual
- Bad Bushing picture by: RED300Z
- All other pictures by: Neil86T