


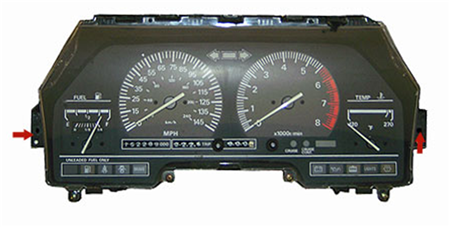
1987 - 1989 Z31 Instrument Cluster Upgrade (Lighting and Needles)
The reason I did this to my Instrument cluster was to update it a bit, give myself a more visible red needles at night and more brightness.
I started this project was because my Instrument cluster was dim and with LED's being the craze and my job being based on LED's (Fiber Optic Lasers) I figured oh, Why not.
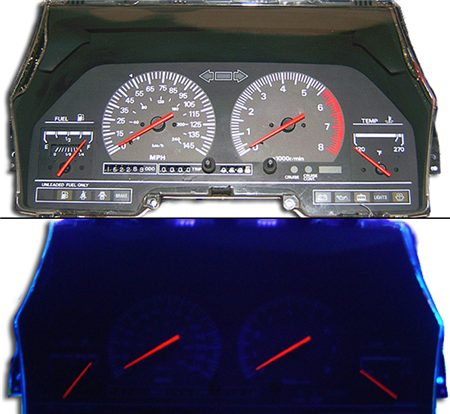
Comparison
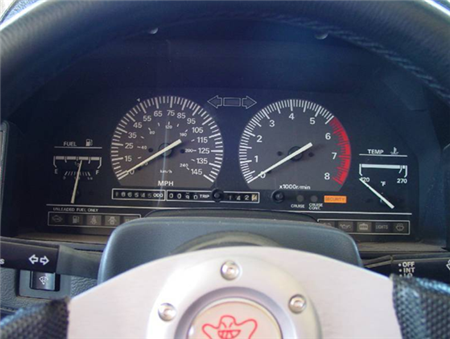
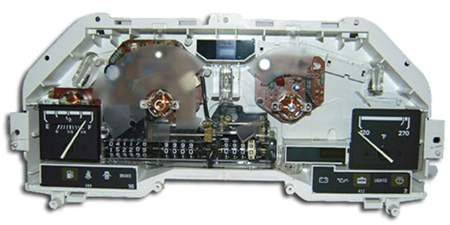
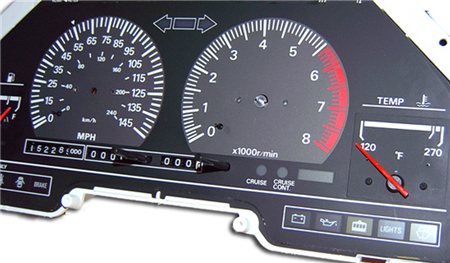
Stock

Red Needles
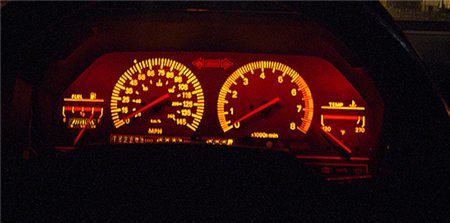
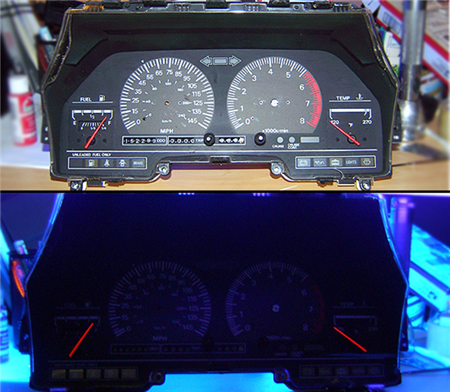
Final Product
Items Needed
- 3x Mini SMT LED bulbs for the #158 (Amber)
- 1x 2722 T1.5 (Amber)
- 6x T1.5/Neo Wedge/12mm Base bulbs (Red)
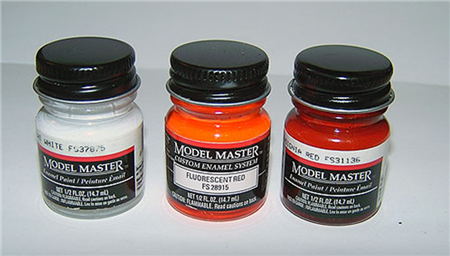
- Testors Model Master Paint Flat White - FS37875
- Testors Model Master Paint Fluorescent Red - FS28915
- Testors Model Master Paint Insignia Red - FS31136
- Phillips screwdriver
- Flat Head Screwdriver
- Ratchet
- Assorted sockets
Bulb Chart
| Nissan Part Number | Common Part Number | Volts / Watts | Description | Quantity |
|---|---|---|---|---|
| (24855C) - 24860-21P01 | 158 | 12V/3.4W | T3-1/4 | 3 |
| (24855C) - 24860-21P02 | 2722 | 12V/2.0W | T1.5 | 1 |
| (24855B) - 24860-21P00 | 39320 | 12V/2.0W | T1.5/Neo Wedge/12mm Base | 6 |
| Notes: #158 bulbs can be replaced with #194 types. #2722 bulbs can be replaced with #74 types. | ||||
The Process
- Remove the lower steering column plastic trim. Use a Phillips screwdriver for the 3 screws.
- Remove the trim around the steering wheel (plastic casing just behind the wheel). There are 4 screws, 2 per side. Take off the top portion.
- Remove switch pods on each side of the instrument cluster. See: Switchpod bulb replacement
-
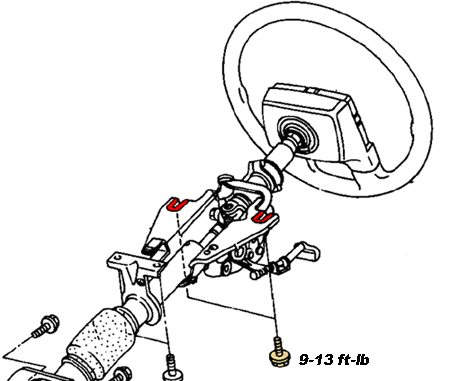
Drop the steering column by loosening the 2 golden bolts underneath (but don’t remove them). This helps you get the cluster out without removing the steering wheel.
-
Remove the 2 Phillips screws from the instrument cluster bezel.
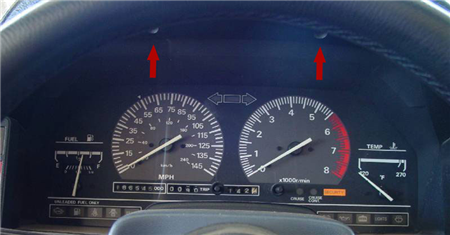
- Carefully remove the bezel from the instrument cluster area.
-
Remove the 2 Phillips screws on the left and right of the cluster to free the unit.
- Slowly pull the cluster forward to access the rear.
- Press the top and bottom tabs on each connector to unplug from the cluster.
- Carefully sneak the cluster out between the steering wheel and dash.
- Now, we’ll upgrade to LED bulbs. Some modifications are needed.
-
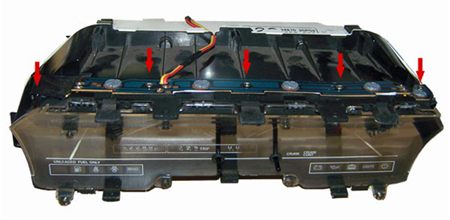
Remove the Gauge Face Lighting bar on top of the cluster (3 small Phillips screws on the bar, plus 2 auxiliary bulbs).
-
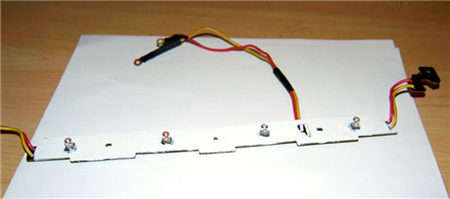
Carefully remove the 3 PCBs (lighting bar and auxiliary bulbs).
-
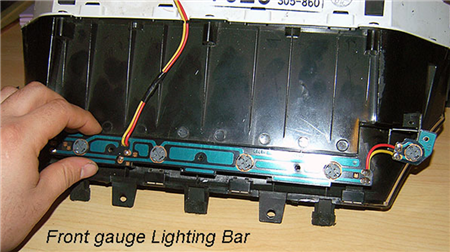
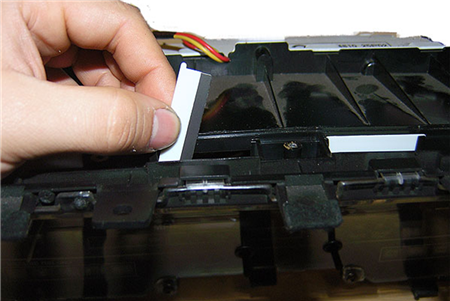
Remove the front gauge lighting bar to reveal the white lighting diffusers.
-
About diffusers: Keep them for incandescent or LED bulbs. Remove only if using UV bulbs in the 365-390nm range (most LEDs are not true UV).
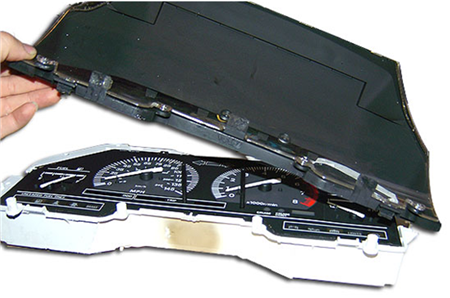
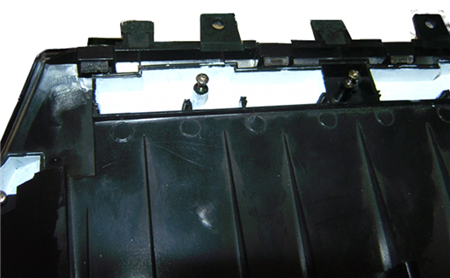
- Remove the acrylic plastic cover (4 screws front, 5 rear). Gently undo 4 rear and 2 front tabs.
-
Carefully separate and lift the cover.
- LED Directionality: LEDs are directional, unlike incandescent bulbs, so add reflectors for better luminance.
- Red LED note: Red LEDs are focused and near infrared—consider reflectors or paint for better needle illumination.
-
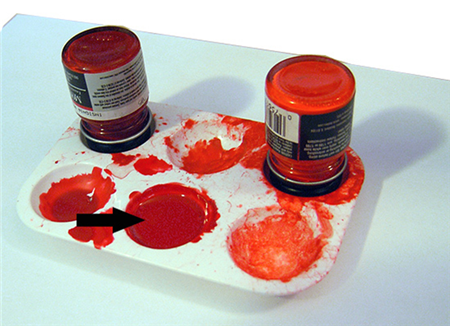
Mix premium white enamel paint well for reflectors (Testors Model Master recommended).
-
Paint the underside of the front lighting bar flat white, as well as the PCB spots for temp/fuel bulbs.
-
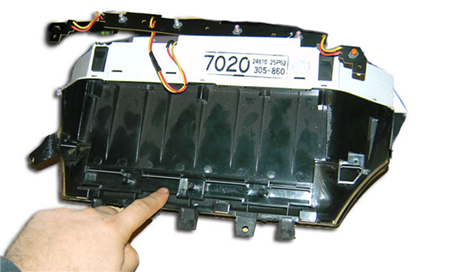
Paint the inside of the trough where bulbs rest; stir well and apply several coats. This boosts needle lighting with red LEDs.
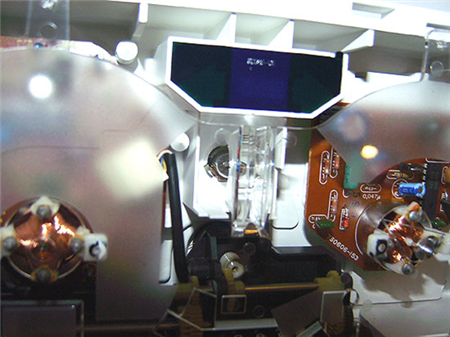
- Review: Additional pictures of the cluster and bulbs.
-
This cluster uses an acrylic diffuser for even illumination.
-
The gauge faceplate is lexan, with two squares for temp/fuel gauges.
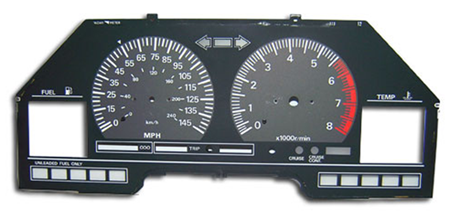
- The faceplate is orange lexan, screen printed and dotted with white paint on back for even light.
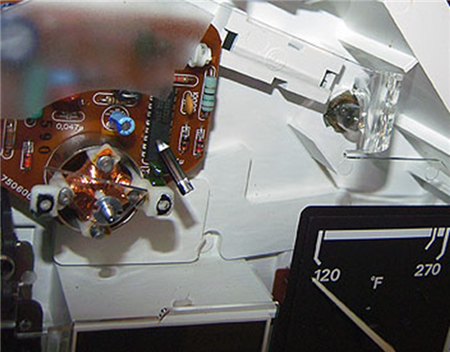
-
Factory odometer/trip bulb: 2722 bulb, can be replaced with #74. Note acrylic diffuser.
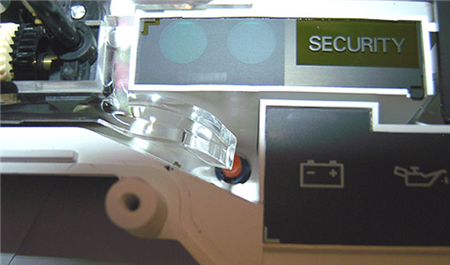
-
Center bulb/diffuser: can use #194 bulb.
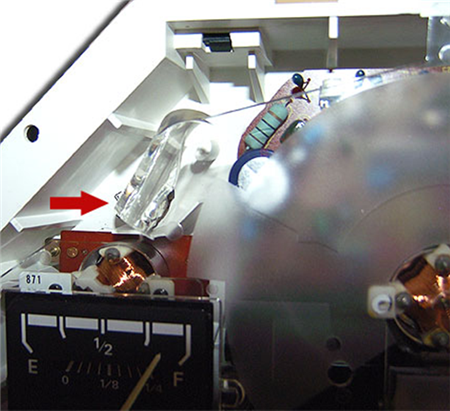
-
Bulb behind temp gauge: can use #194 bulb.
-
Bulb behind fuel gauge: can use #194 bulb.
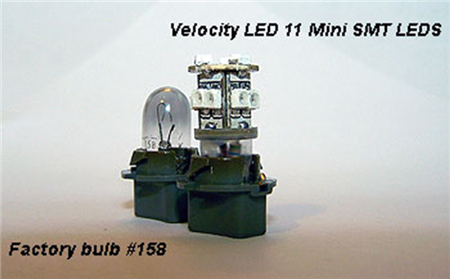
-
Comparison: 11 Mini SMT LEDs vs factory #158 bulb. These are the tallest that fit.
- Z31 needles: poly with a weight. Painted fluorescent red for effect.
-
Fluorescent red = orange/red, glows under blacklight. Blend with insignia red for deeper color.
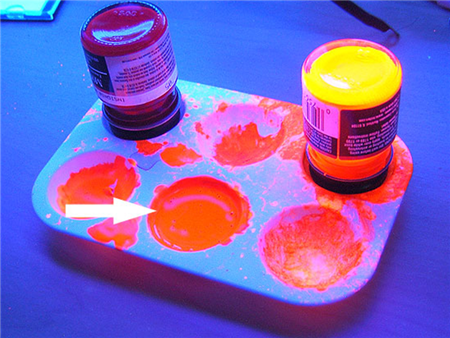
-
Result: Paint matches tachometer, looks more red.
- This method is great for stock, LED, or black light bulbs—needles look red day/night and glow under UV.
-
Needles now glow red, even under black light.
-
Red needles under black light.
- Reinstall needles, clean acrylic cover, button up screws.
- Test the cluster and gauges in car. If all works, tighten all remaining screws.
- View: With regular light and UV (no backlighting yet).
-
Goal: Red needles achieved!
- Slide the cluster in, plug in illumination connector (behind tach). Turn on parking lights, check LED polarity (+/–). LEDs won’t work if reversed!
- Photos show: stock white needles, red colored needles, and finished cluster.
-
Key point: All needles glow red; fuel/temp gauges have red effect.
- Optionally use UV light for fluorescent glow!
- Result: Cooler-running, longer-lasting LEDs, and red illumination for needles and gauges.
Sources Used
- 1984-1988 Nissan 300ZX Factory Service Manual
- Writeup by: Nivo88T