


S30 Hub Cap Restoration
I lost a "Z" hub cap when I took my Z out for a drive recently. So I decided to refinish a few caps, one replacement and a couple of spares. After digging through my stash, I found a few suitable donors. The topic of hubcap refinishing has been addressed before, but I thought I'd document the steps I took to bring these hub caps back to life.
Items Needed
- Paint stripper
- Automotive masking tape
- Dish pan
- Dish soap
- Rubber gloves
- Scouring pad
- Paint brush
- PPG wax & grease remover or similar
- Hammer & dolly
- X-Acto knife
- Pick
- Paint
Process
Process
-
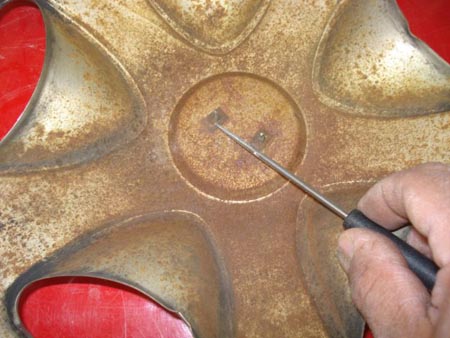
I began by removing the center ornaments. I used a pick to bend up the tabs on the retainer clips. The clips could then be pulled off.
-
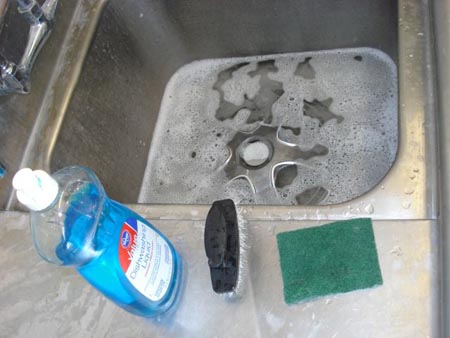
Next, the hub caps got a bath in hot, soapy water. After drying them off, I wiped them down with a wax & grease remover to make sure all dirt, grease & grime was completely removed. I keep a little PPG wax & grease remover in a spray bottle. Eastwood's Pre Painting Prep (or similar) would do as well.
-
Once clean, it was easy to spot the dents & dings. A little hammer & dolly work straightened things out.
-
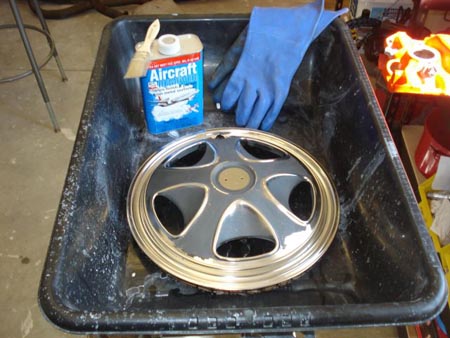
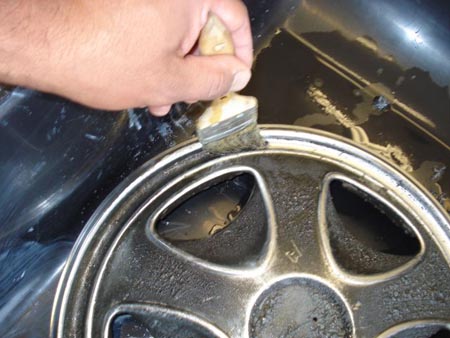
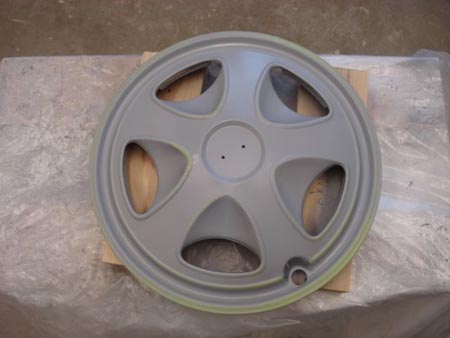
I used paint stripper to remove the old paint, which is pretty thin. The hub cap was placed in a large plastic tub to avoid mess. Using a chip brush, I applied the stripper and wore rubber gloves for protection. The old paint began wrinkling within seconds and was removed with a green scouring pad. This was repeated until all old paint was gone.
-
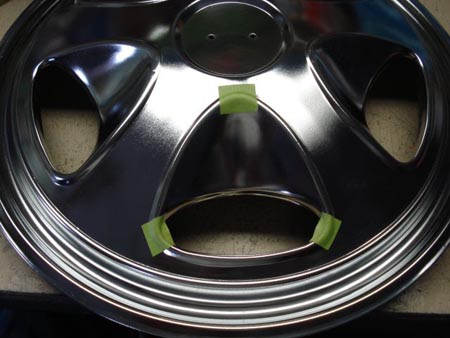
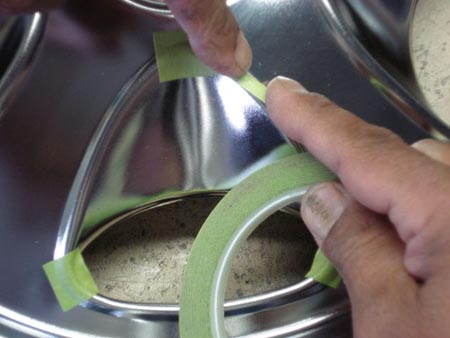
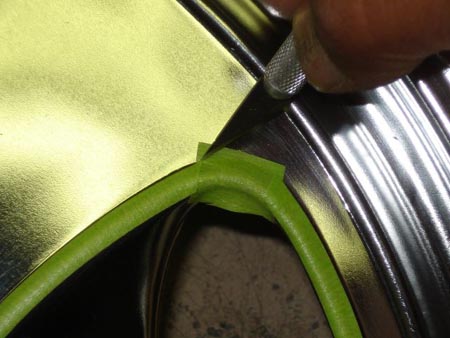
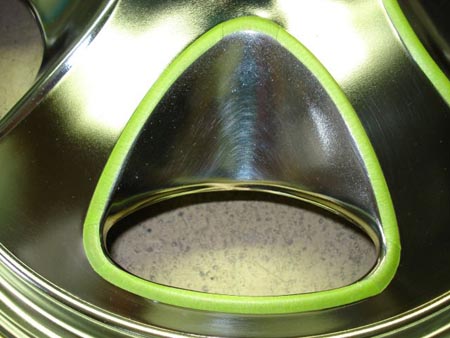
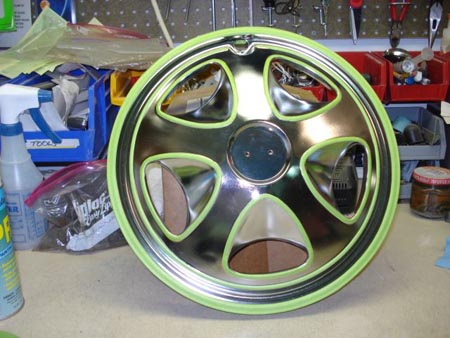
Masking was done using Scotch green tape. 1/4" tape outlined the scallops and outer edges, while 3/4" tape was trimmed with an X-Acto knife for tight corners.
-
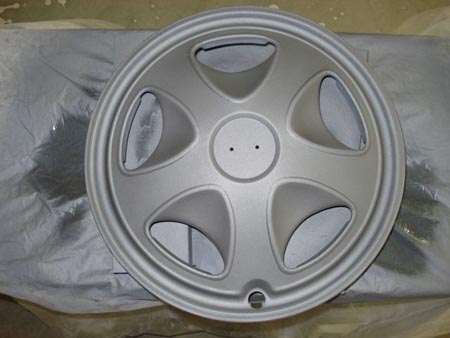
After masking, the hub cap was wiped with a tack rag and coated with 2–3 light coats of SEM etch primer. I let the primer dry overnight.
-
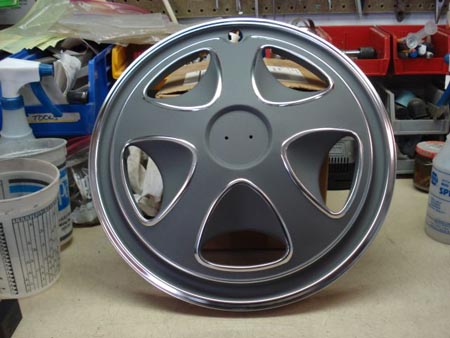
I then sprayed the top coat using silver/grey metallic paint with flattener, mixed according to Wick Humble’s recipe. Using a Sharpe Cobalt gravity feed gun, I applied 3 light coats, waiting 5–10 minutes between coats.
-
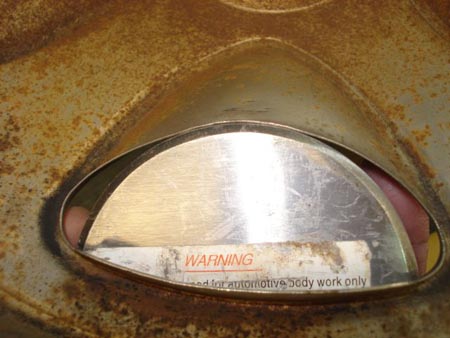
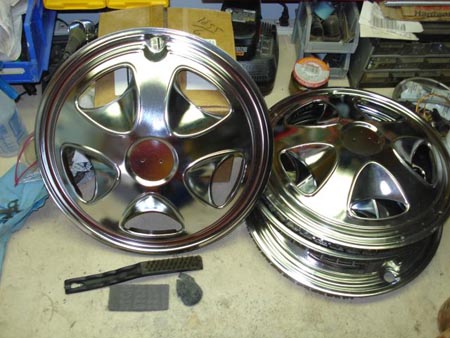
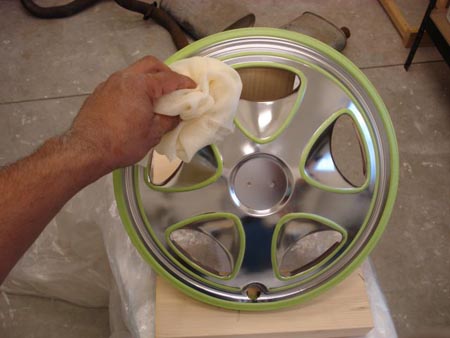
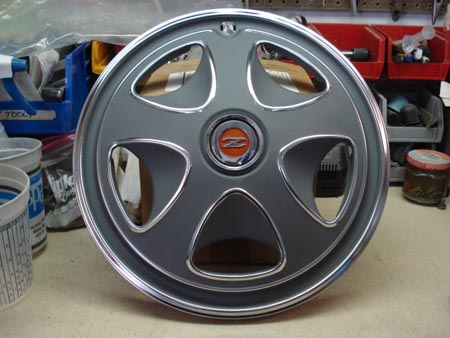
Once the paint dried, I removed all masking tape and polished the center ornament using Meguiar's products. The finished hubcap is ready for the car—clean, shiny, and a big improvement.
Hubcap Paint recipe
- Ditzler Duracryl DDL 2862 Argent with quite a bit of suede additive
- 1 pint DDL
- 200 units DX265
- 300 units DX 264
- Thin 100-150% and spray fairly dry
- Regulate air pressure to the high side
- Make sure you keep the paint mixed in the cup
Sources Used
- Write-up and images by: kenz240z from ClassicZcars.com