


Z31 Z31 Digital Dash and Climate Control Lighting Color Change
One of the many changes I had plan on making to my 300zx is changing the interior light. The interior lighting color is controlled by "gel cap" bulb covers placed over the bulbs. On my '84, they're green. Since I have the digital package, I have to consider the color of the digital display when looking at back lighting. To begin, I will look at the climate control display.
*WARNING* - Do this modification at your own risk. We Are not responsable for any issues of your own doing.
Climate Control Back Light Color Change
To change the lighting color of your Z31 climate controls, you need to alter the bulb color. Typically, this is done using “gel cap” style bulb covers. Unfortunately, the stock bulbs are not a standard size, making it difficult to find gel caps that fit correctly.
The solution is to use DupliColor MetalCast anodized appearance paint, available at most auto parts stores or even Walmart. This paint is semi-transparent and heat resistant, making it perfect for this application. I tested red, blue, and green. Purple is also available, though I didn’t use it.
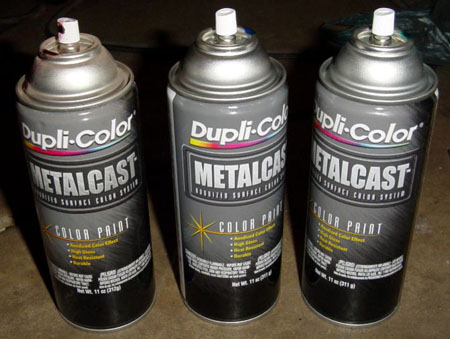
Mask off the base of each bulb and spray only the top with a light coat. Let them dry fully before reinstalling. Below are the results of the three colors both in daylight and in the dark for comparison.
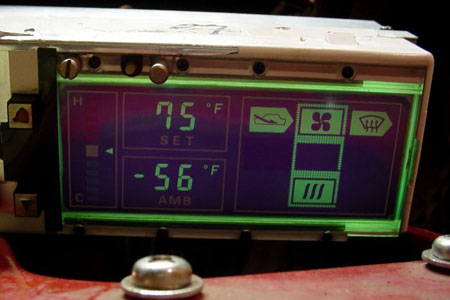
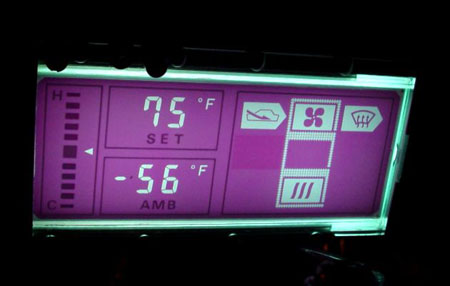
Green – in daylight
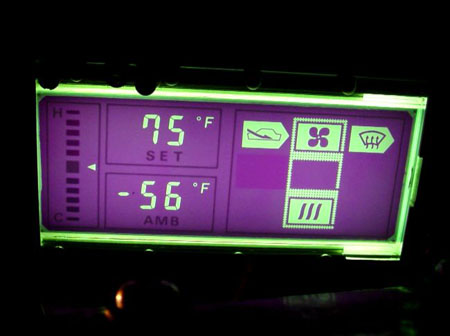
Green – in the dark
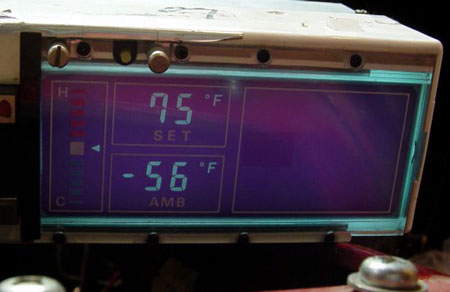
Blue – in daylight
Blue – in the dark
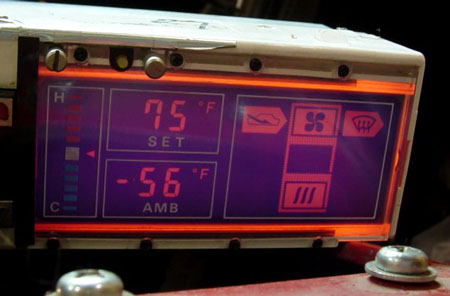
Red – in daylight
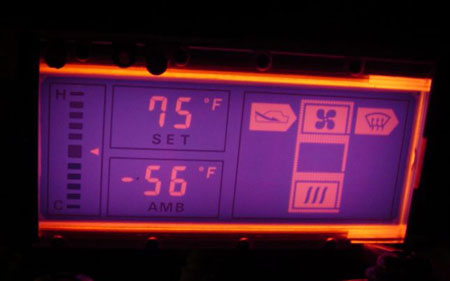
Red – in the dark
Changing your Digital Dash Gauge Color
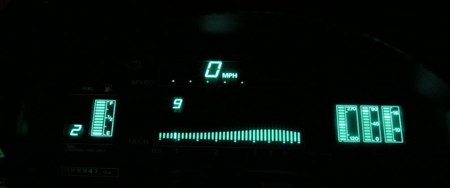
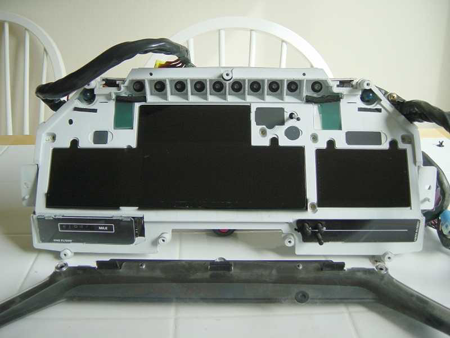
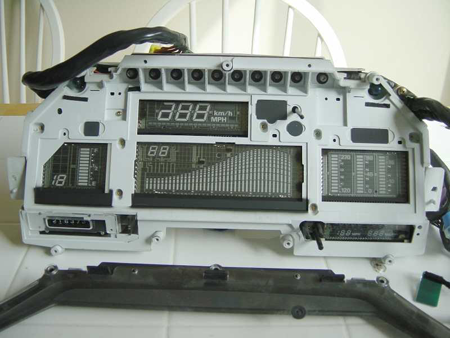
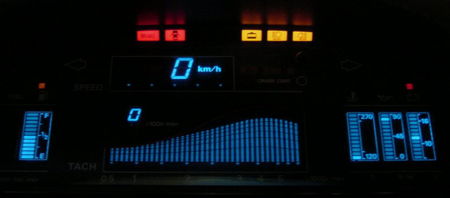
The factory digital dash uses the standard green display color as shown below.
Items Needed
- Parcan gels (used in stage lighting)
- Phillips screwdriver
- 10mm socket
- Ratchet
- Template in PDF format
Procedure
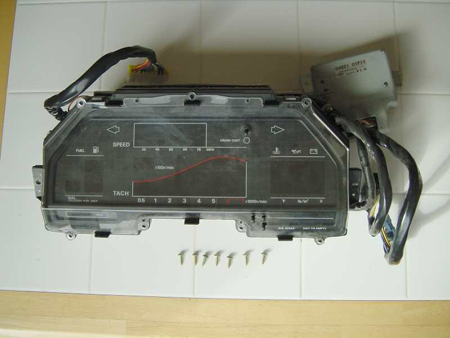
Cluster Removal
First, remove the combo switches on each side of the gauge cluster. While you are under the dashboard, it's recommended to also remove the two 10mm nuts holding the power supply unit to the dashboard and unplug the two connectors.- Remove the 4 screws holding the digital cluster bezel in place, then carefully pull out the bezel.
- Remove the two screws (one on each side) securing the cluster into the dashboard.
- Disconnect the three wiring harness plugs located across the top of the cluster.
-
For better access, remove the steering wheel:
- Remove the column covers by taking out the 4 Phillips screws. Unclip the covers from the column.
- Disconnect the key light and steering wheel control harness if equipped.
- Pull the horn pad off (start from the top). This will reveal the 19mm nut securing the wheel to the column.
- Loosen the nut but do not remove it completely. Wiggle the wheel side-to-side or use a steering wheel puller with the 8mm x 1.25 threaded holes.
- Once loose, remove the nut and pull the steering wheel off completely.
- With the steering wheel removed, you can now carefully pull the digital cluster out of the dashboard. I pull the bottom out first and then slide it towrds me being careful not to scratch the cluster lense.
Cluster Disassembly
-
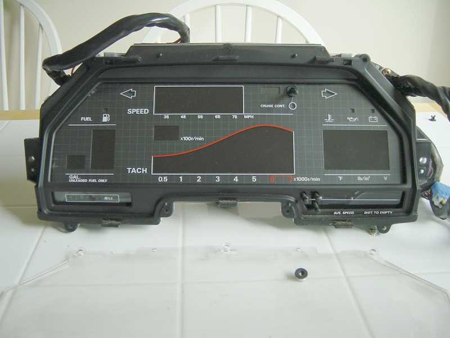
Remove the eight (8) screws from the trim and take off the outer plexi shield.
-
Remove the outer trim ring from the cluster.
-
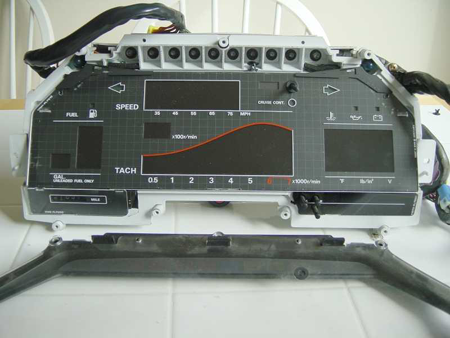
Remove the inner plexi that contains all the lettering.
-
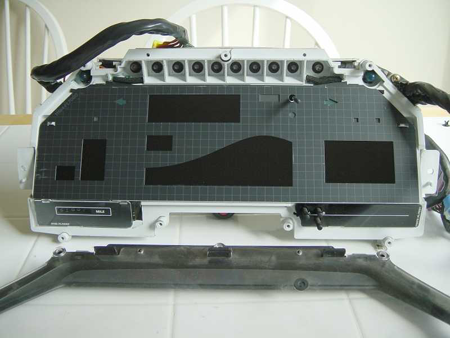
Remove the metal shield with the grid pattern.
-
Pull out the green filters that you’ll replace with colored parcan gels.
-
Inspect the LCD (Liquid Crystal Display) section.
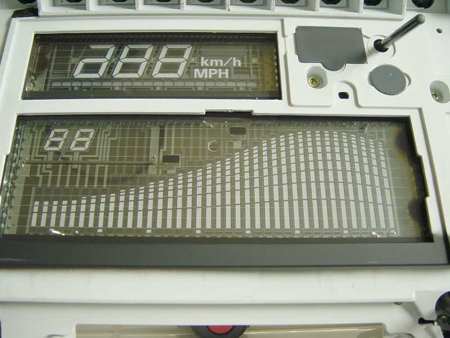
-
Close-up of the green filters.

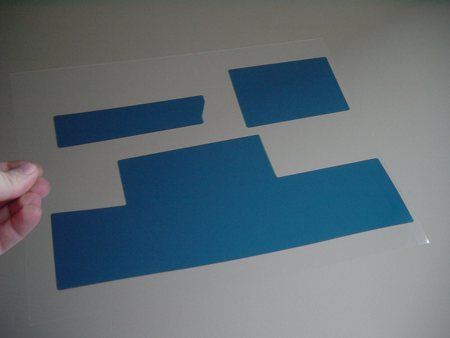
-
Here is an example of a custom color filter printed on transparency. Parcan gels (used in stage lighting) are recommended for durability and color retention.
Center Pod Gauges & Stock Radio
For the center pod gauges, the process is similar, but you’ll need to remove the circuit board to access the color sheet. The stock radio has green filters in the buttons and small rubber “condoms” for the LCD display.
Finished Digital Dash
Sources Used
- Digital Climate Control Written by: Redare
- Digital gauge Cluster Written by: Z_Karma